Part 1: The Interior
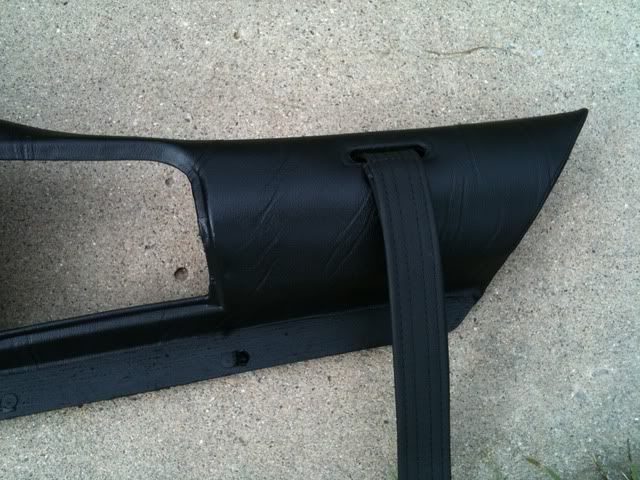
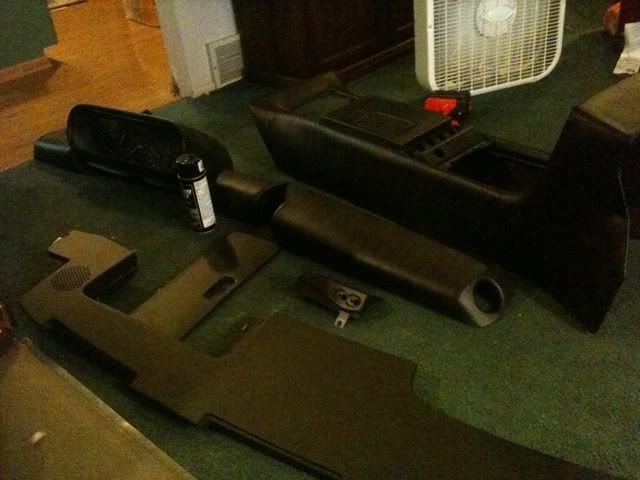
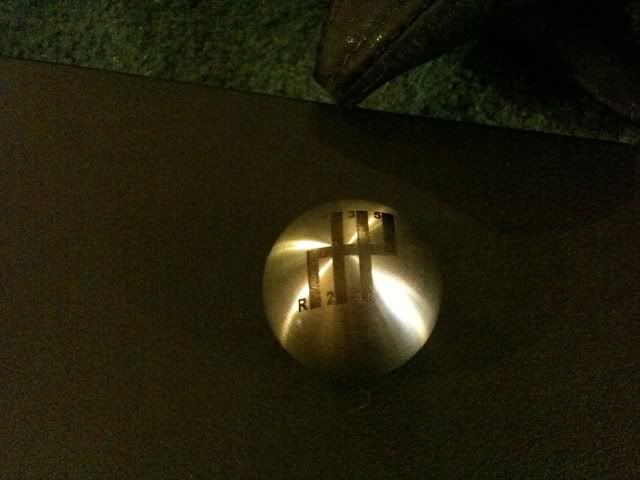
Let's see, where did I leave off? Wow, okay. So I got both seats recovered! I'm guessing it took about 4 hours total, and I think they turned out awesome! Though I will be perfectly honest that if I ever have to do a pair of seats again, I will probably just pay someone else to do it. It would be worth the money in my opinion. After playing my seats' favorite game of "How many times can we possibly break the same fingernails?", and quite a few swear words later, I was done, and I now hate hog rings with a passion! But at least now I have beautifully recovered seats with seat heaters!!! I also finished up dying the rest of the interior, and mostly finished installing the carpets.
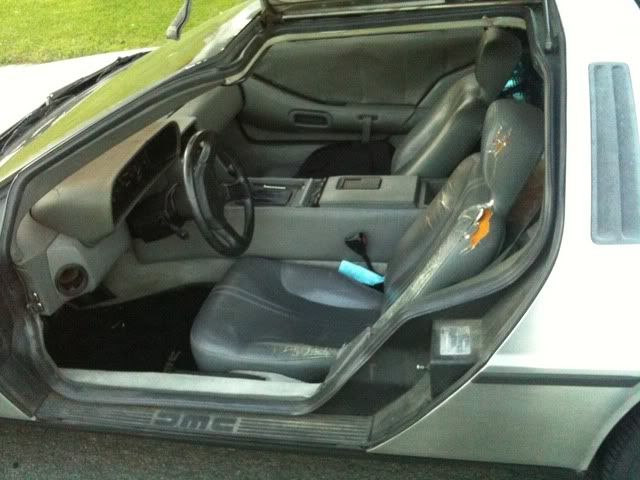
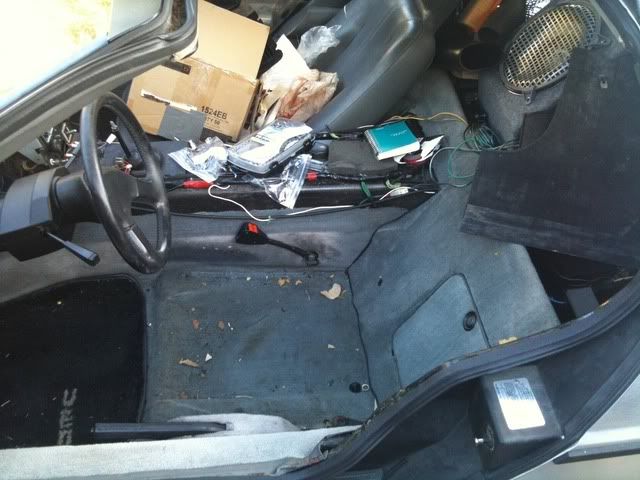
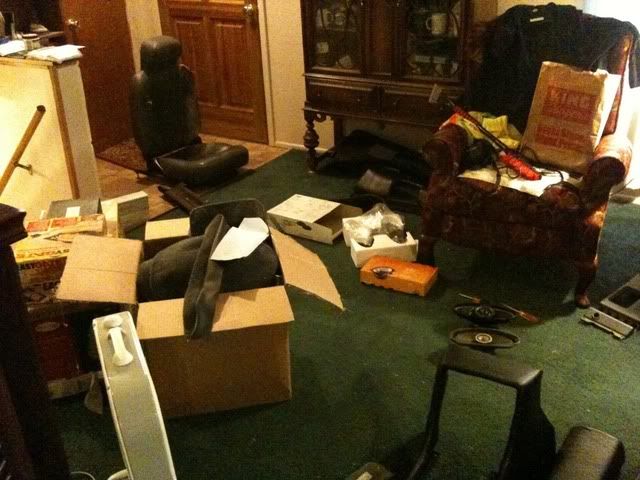
A before shot showing the general condition of the interior.
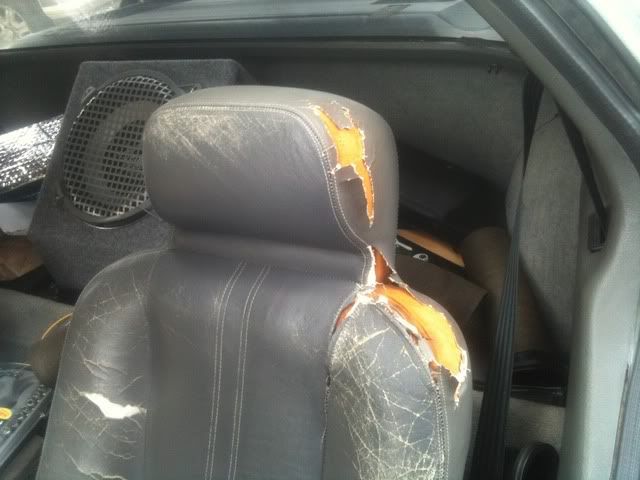
Before shot of the seat.
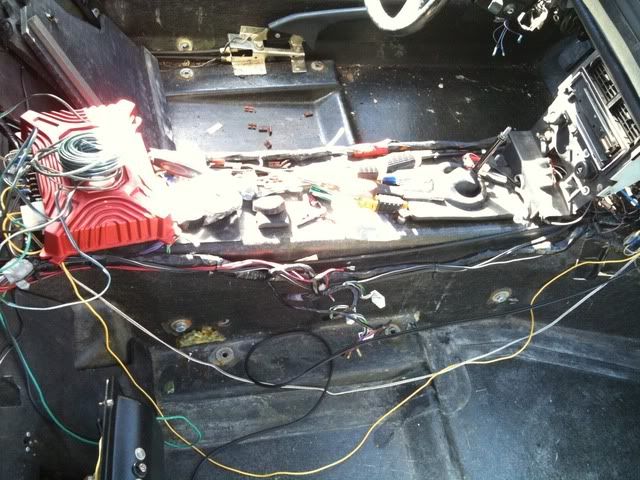
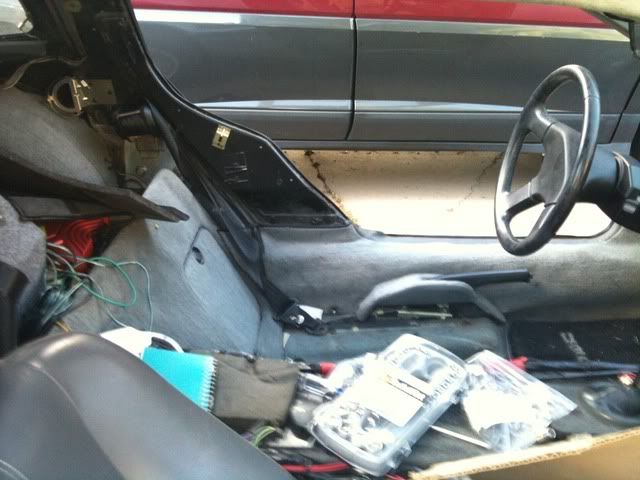
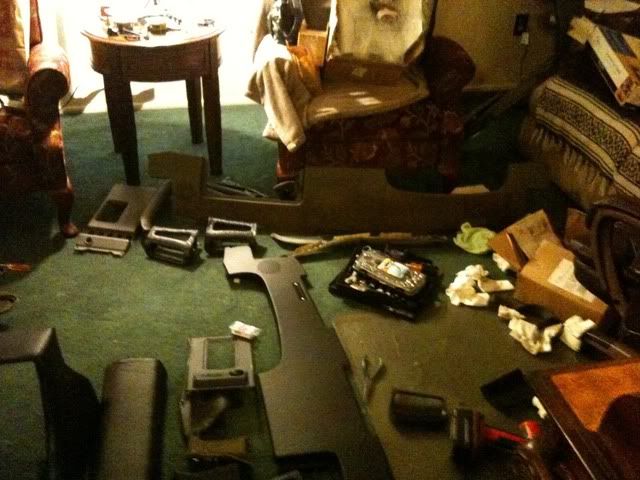
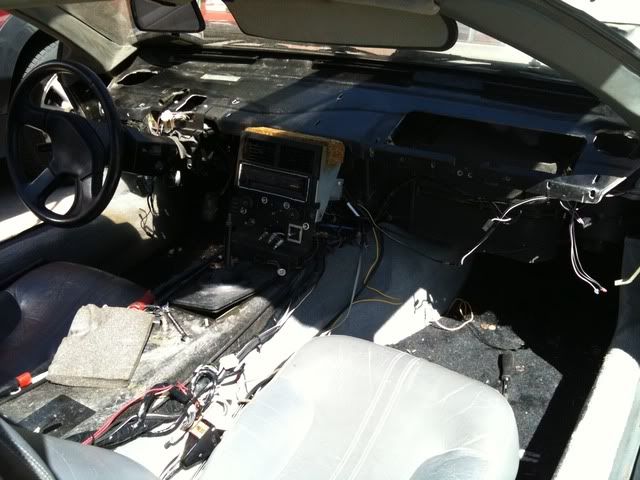
All interior removed.
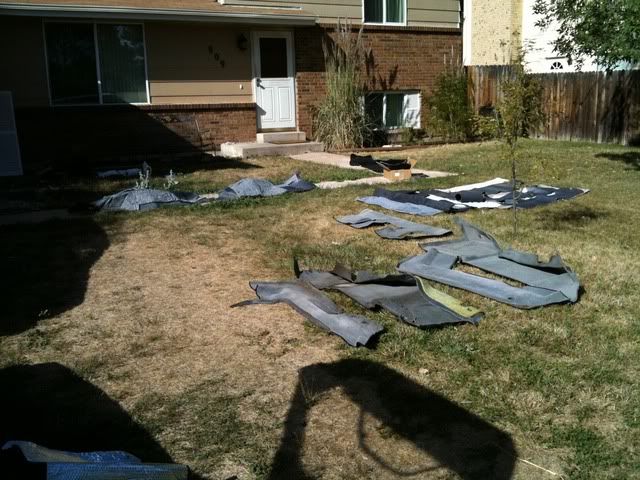
The old carpet out, the new carpet ready to go in!
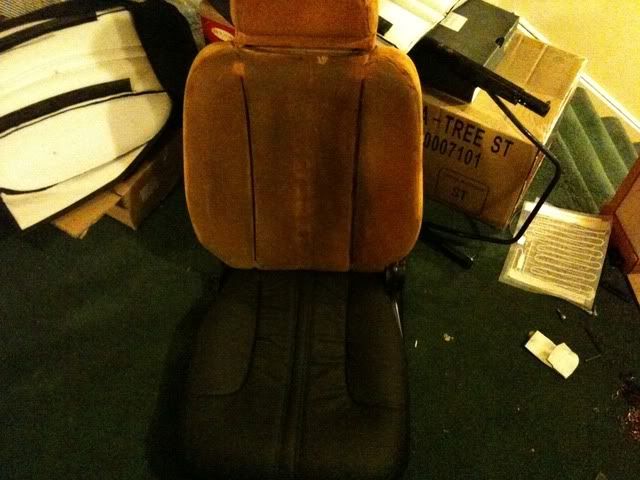
During the recover.
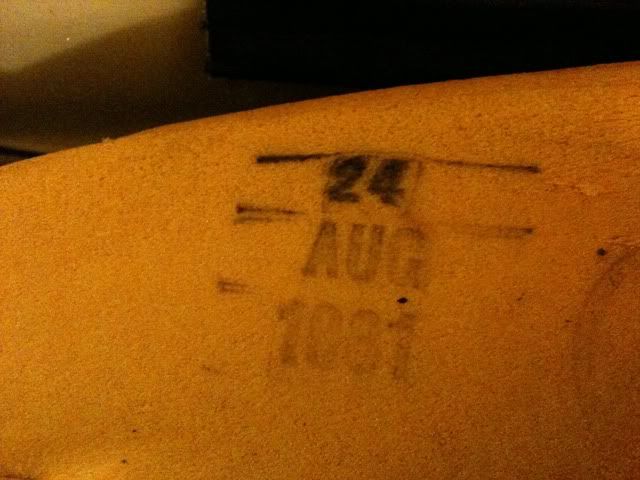
I found this on my passenger seat!
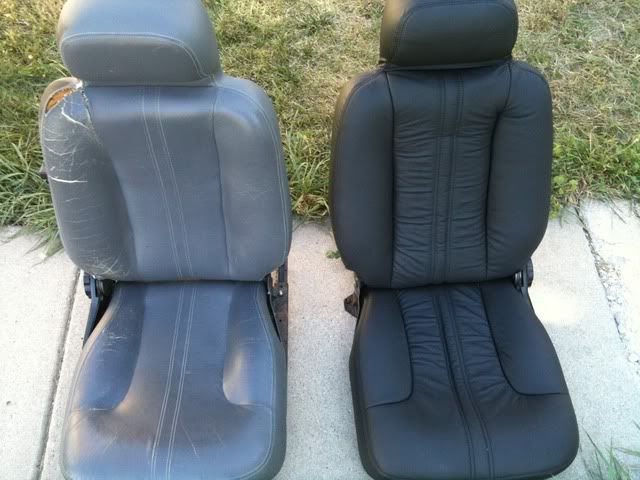
The old passenger seat with the newly redone driver seat.
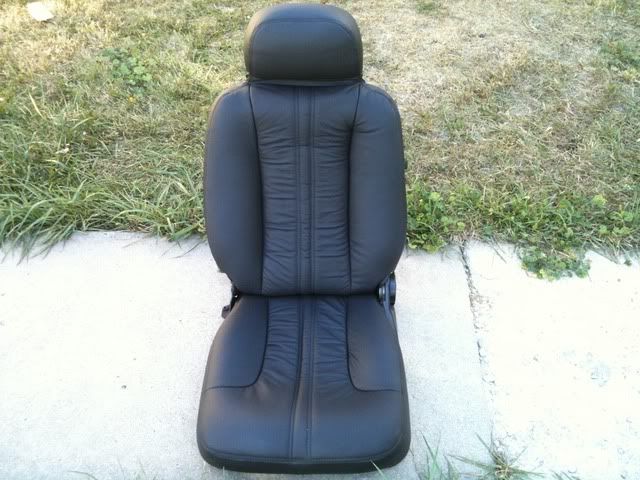
Very nice!
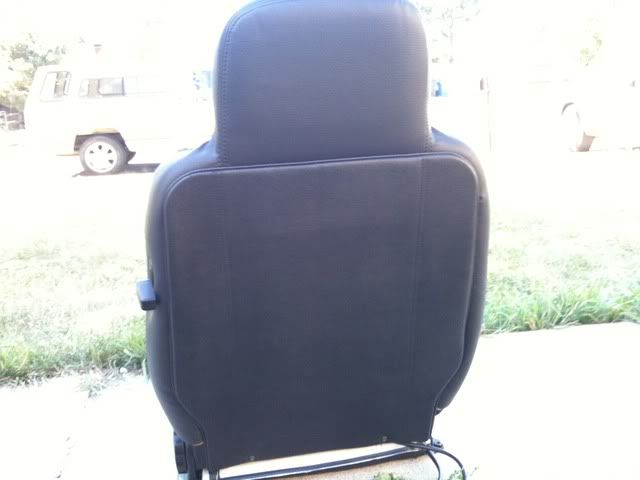
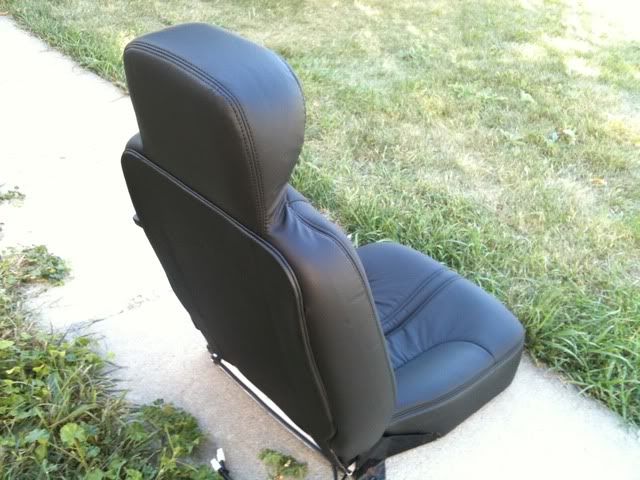
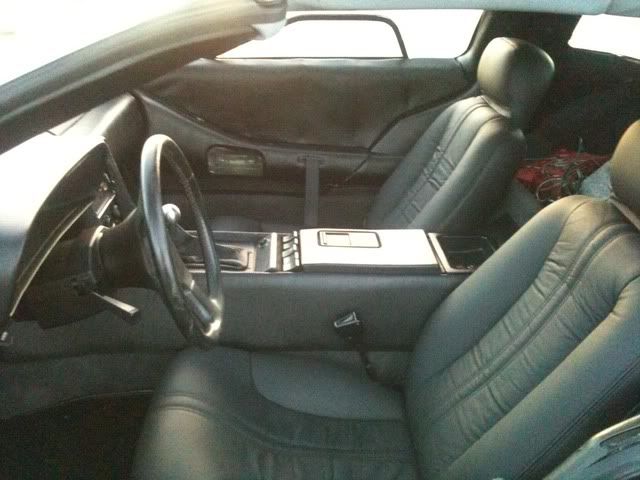
The 95% done shots.
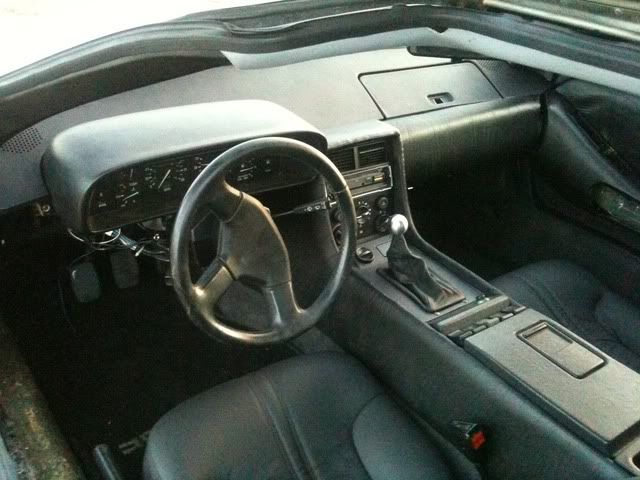
I'll let you figure out what still needs to be done in these pictures.
Not surprisingly, this interior project took much longer to finish than I had originally thought. I ended up working for 24 hours straight to finish up in time to make it to the Scottish Irish Highland Festival in Estes Park. Actually I never did fully finish. I am guessing I'm about 95% done at this point. I worked up until 6am the morning of the parade, drove home, took a shower, drove straight up to Estes Park, and made it right on time to meet the group for the parade!
Part 2: The Highland Festival
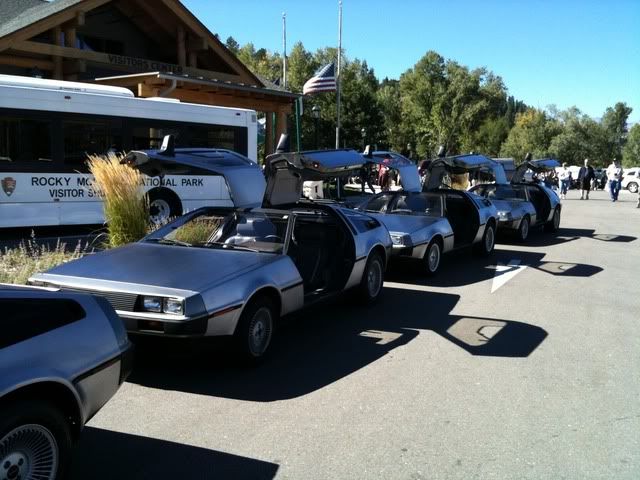
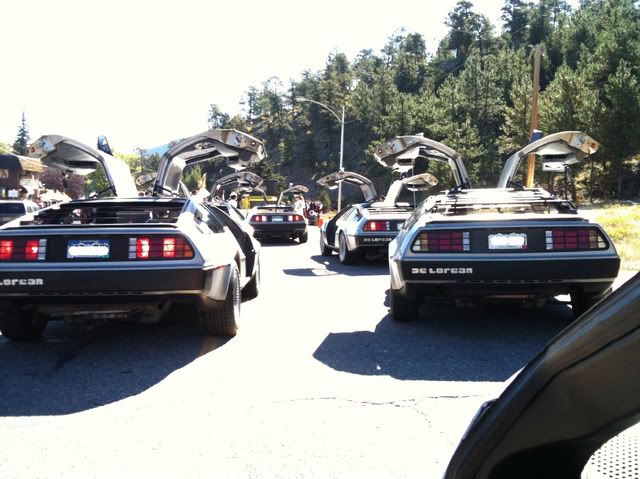
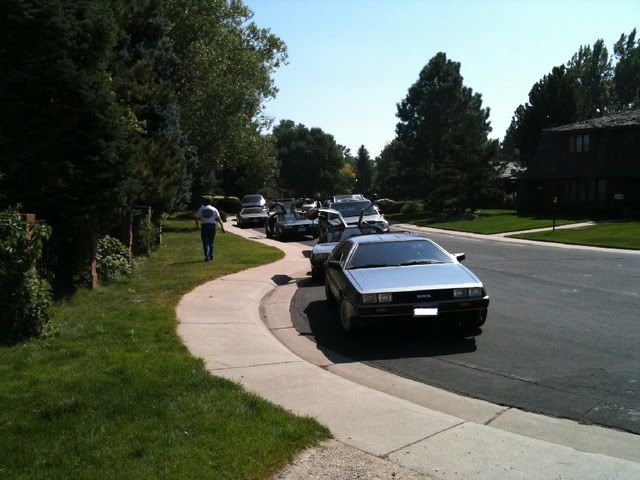
So on my way home to clean up before heading to Estes Park, I noticed the dash lights weren't working. :( "Must not have hooked something up right" I thought. Since I didn't have time to worry about it, I didn't think any more of it. The binnacle wasn't mounted securely because the studs on the bottom of the used binnacle were a different size than the ones on my old binnacle. Oh well, just one of those things that I didn't have time for. I also didn't get the glove box lid, door pull handles, some of the carpets, mirror switch and a few other misc. parts installed, but it was complete for the most part. Good enough for a parade anyhow! So I drive up there, and on my way my car passed 50,000 miles! So I get there, meet up with the local DeLorean group, and we drive in the parade. That was really fun! We had 7 DeLoreans total. After the parade, we were allowed to park right inside the main entrance to the festival, so we got a lot of attention. Everybody seemed to love the cars! This was the first time I had ever shown my DeLorean, so it was a really neat experience for me. The look on people's faces as they sat in the cars was awesome.
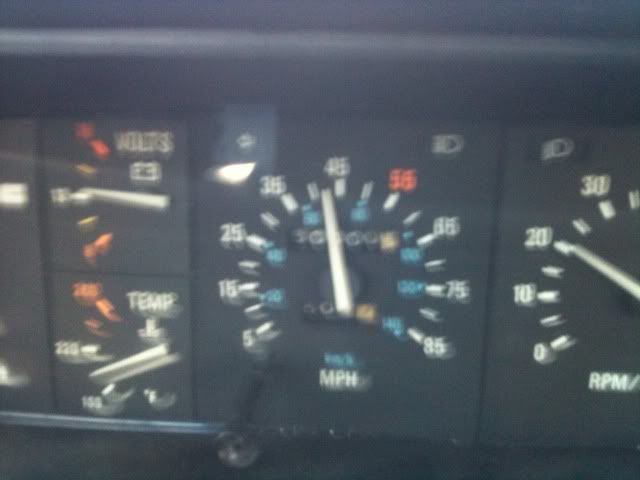
I was driving to the parade when I passed 50,000 miles. Unfortunately, this was the best picture I got because I couldn't really pull over at the time.
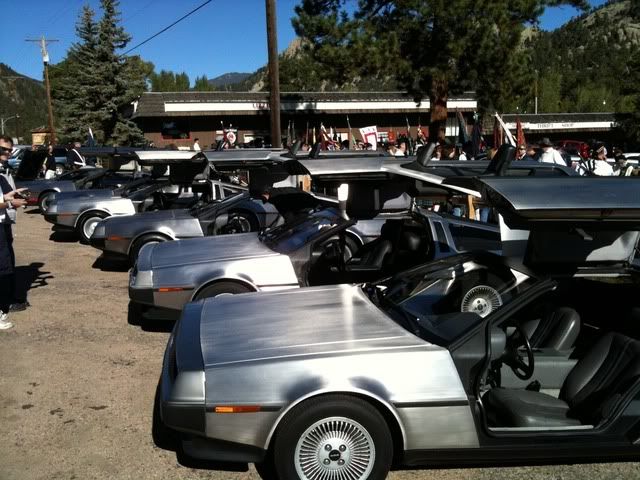
A beautiful sight!
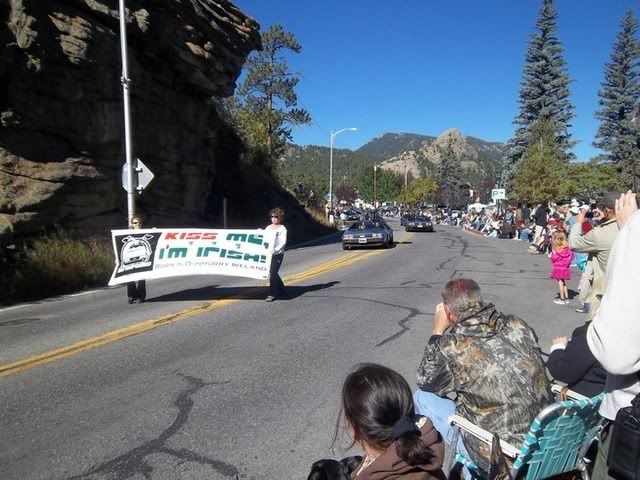
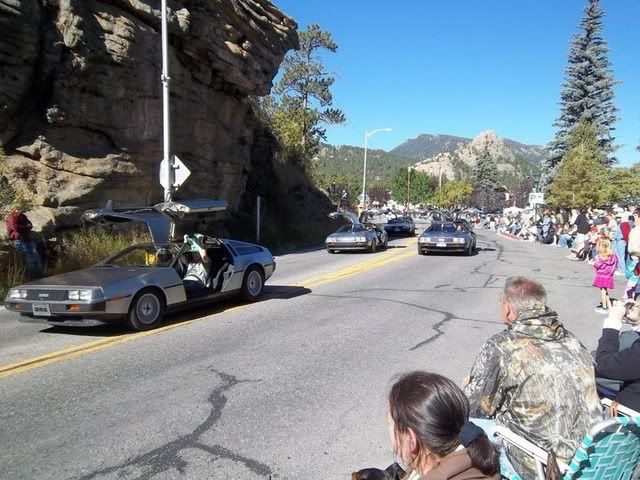
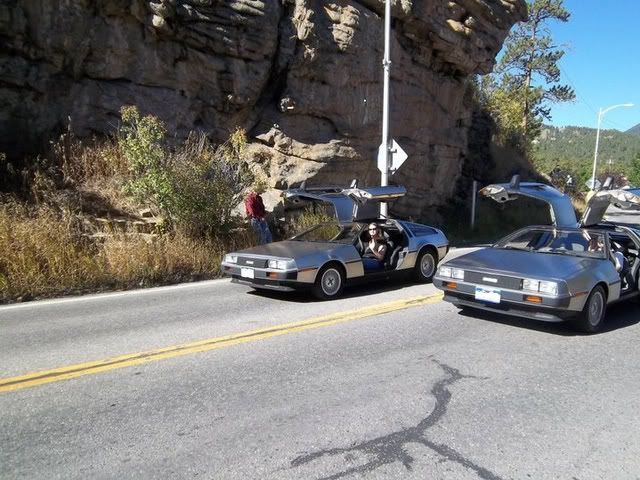
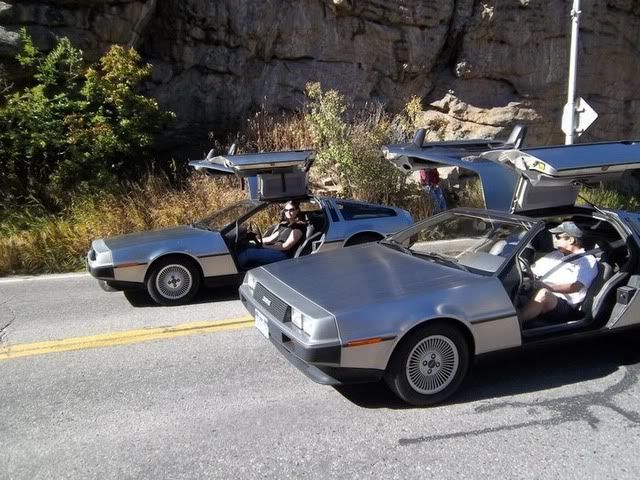
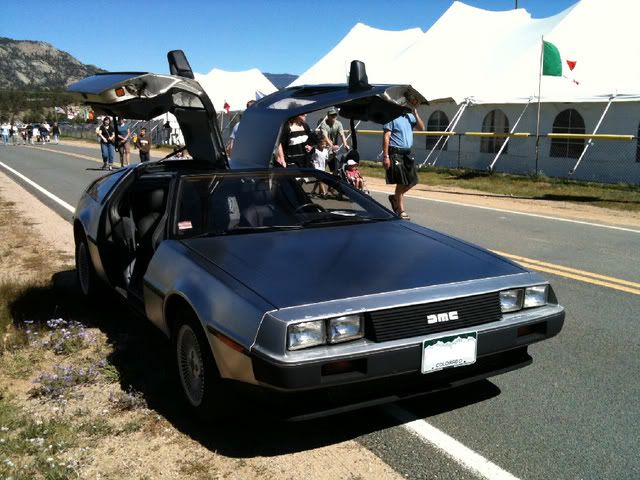
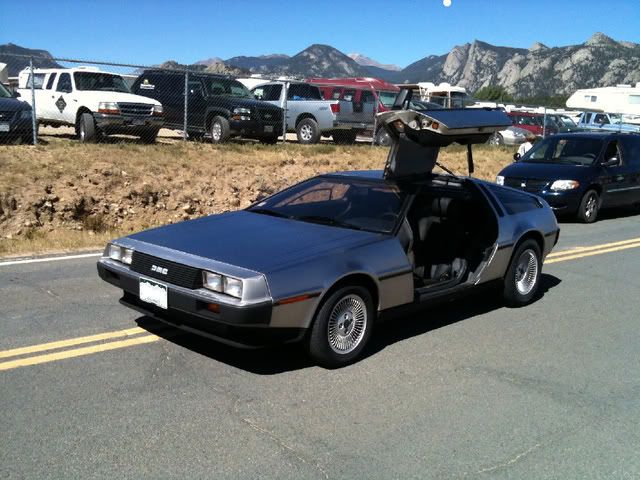
My new favorite picture of my car.
So after the festival and dinner, I realized that my dash lights still weren't working, and that it was getting dark. I really didn't want to have to drive back down the canyon at night not know how fast I was going. Turned out that my passenger side driving lights weren't working either. So another group member helped me figure out that I had two blown fuses. We replaced them, and they blew again. So we replaced them again, and they seemed to work. We parted ways, and I started on my way home. As soon as I pulled out on the main road, the fuses blew again! Grrr. So I pulled into a parking lot and called someone to meet me. I wanted him to follow me home, so I wouldn't get pulled over for having some driving lights out. I ended up using an app on my phone to see how fast I was going the whole way home, since I couldn't see any of the gauges. I also hadn't slept in almost 40 hours at this point, so I was trying desperately not to fall asleep the whole way. But I made it home okay, and absolutely passed out. When I woke up the next day, I realized how badly I had gotten sunburned. Ouch! But it really was a fun experience! A few days later I finally figured out what was causing the fuses to blow. I figured out that they only blew when the clock/shifter panel was attached. After a bit of trial and error (and 14 fuses later), I found that the power wire for the lighted ring around the cigarette lighter had come off and was shorting when the clock/shifter panel was tightened down. Re-attached that, and everything has been working fine since! (I now carry plenty of extra fuses just in case.)
Part 3: The Tech Session
The day after the Highland Festival, I drove my DeLorean to work as I always do. I noticed that the speedometer was bouncing so badly that I couldn't even tell how fast I was going! I knew we were going to have a tech session the following weekend, so I ordered a new angle drive from DMCH so that we could install it. I thought this tech session might also be a good time to change out my trailing arm bolts (TABs). They are a common problem on DeLoreans, and I had already been told by the local DeLorean mechanic that mine really needed to be replaced. I bought a set of Toby TABs when I first bought my car back in 2006, but had never had the chance to install them.
We had 7 DeLoreans show up to the Tech Session, plus a parts car that one member had just gotten out of a junkyard in Colorado Springs. It had been destroyed in an accident and left sitting in the junkyard for 12 years exposed to the elements, but ended up having a lot of good usable parts.
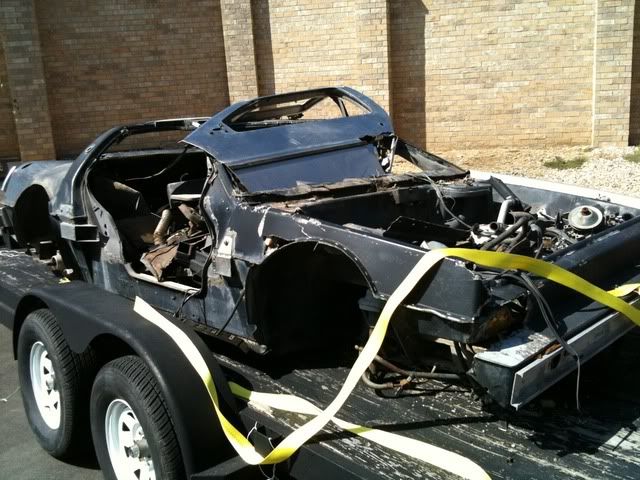
So sad. :(
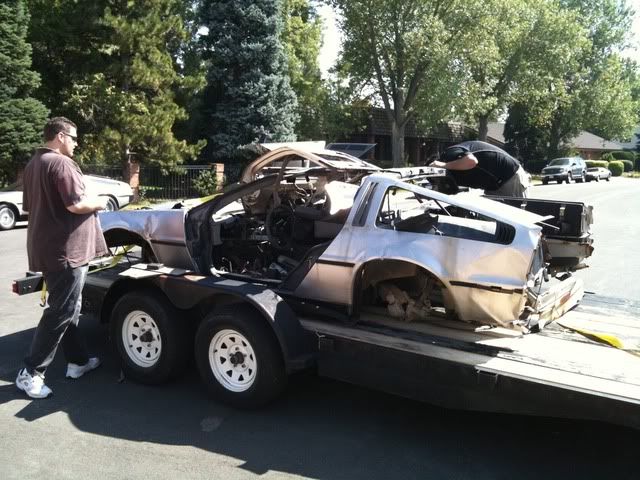
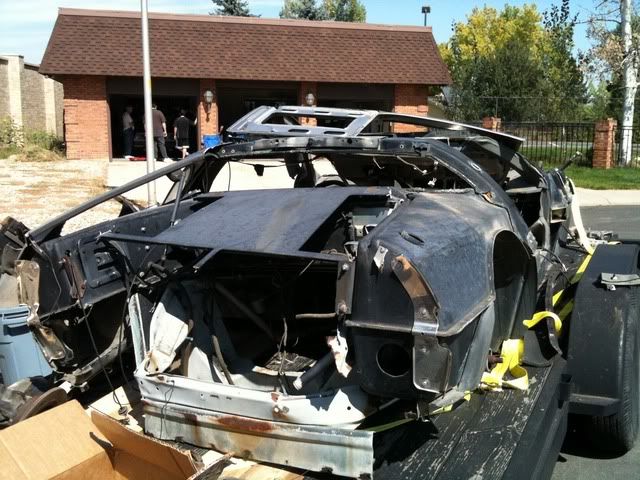
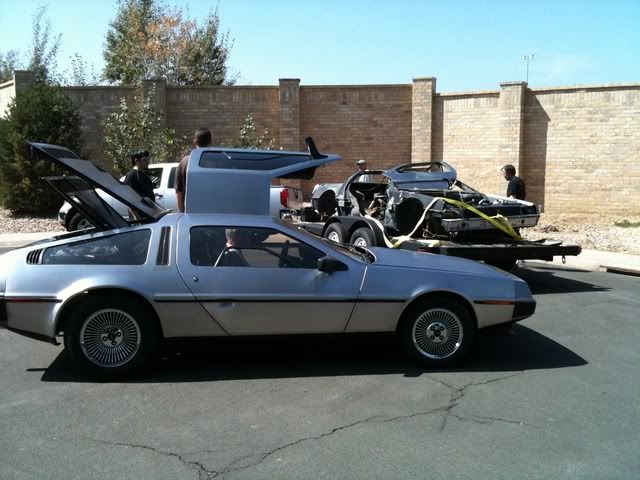
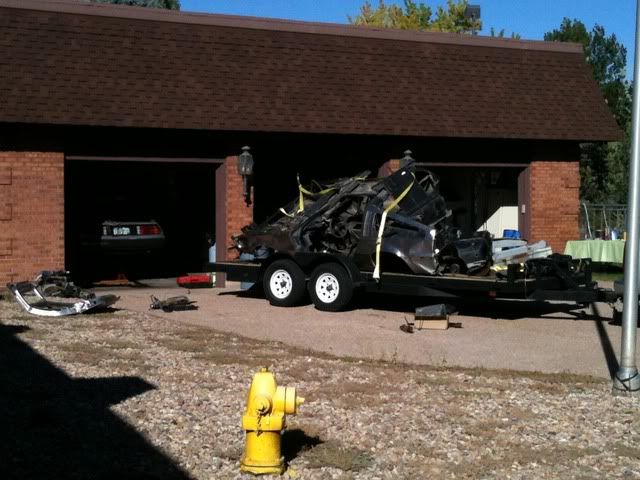
Poor car. :( RIP.
Our guest for the Tech Session was Josh from DeLorean Performance Industries. He was offering technical advice and was performing inspections on the cars. During his inspection on my car, he asked "How far do you have to drive this home?". I guess the trailing arm bolts were badly bent and ready to snap at any time! I had already decided I wasn't going to attempt the TABs that day because it had the potential to turn into a really big project and I didn't want to take up the whole session with my car. Well, that changed when he told me I shouldn't even drive the car again until they had been changed! A few group members jumped in and started work on replacing the TABs. It should have been a one hour project on most cars, but every project on this car seems to turn into a major project, and this was no exception. First, the old TABs wouldn't come out because they were too bent. Turned out nobody had anything to cut them with, so we waited until the next day. Cut out the old bolts, but still couldn't get them out of the trailing arm! So it was decided to remove the entire trailing arm to get them out. In the process, the brake line bracket on my passenger side TA tore off because it was so rusty! Luckily, the parts car had a good one! So we replaced that, then couldn't get the old brake hoses out. Then the hoses I had to replace them with were the wrong size. Then the steel brake lines broke. Then we found out that the driver side caliper was seized. I ended up having to order $200 worth of replacement parts. So after a week had passed, we FINALLY got my car back on the road, and I have been driving it since. Josh told me that my frame was pretty bad from rust and that I was going to have to replace it, but that it should be okay to drive for a while. So I guess I need to add frame replacement to my to-do list. :( Oh well, at least now I have Toby TABs installed, so I can finally quit worrying about those, and I also have rebuilt rear brakes with new lines and hoses, and a new angle drive! Yay!!
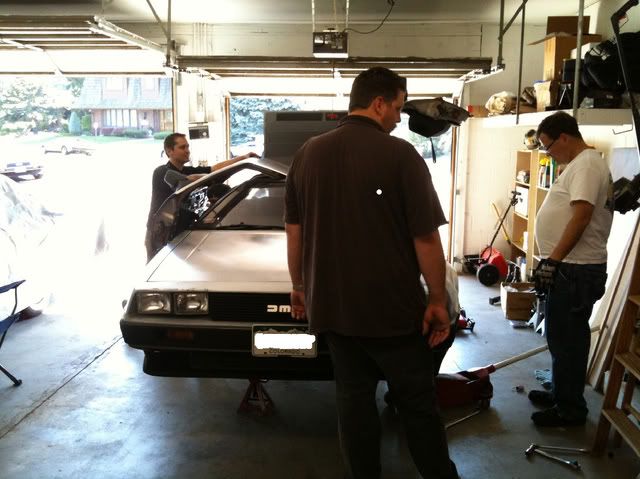
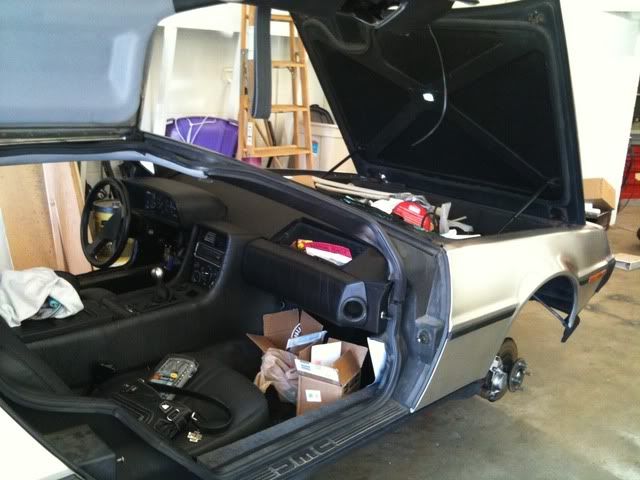
My car as work began.
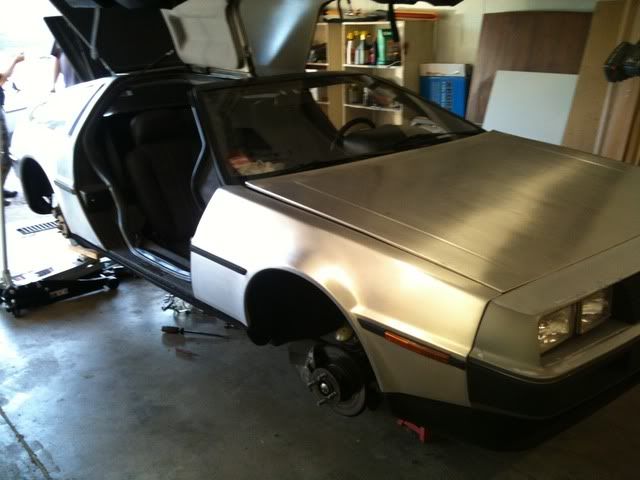
Up on jack stands.
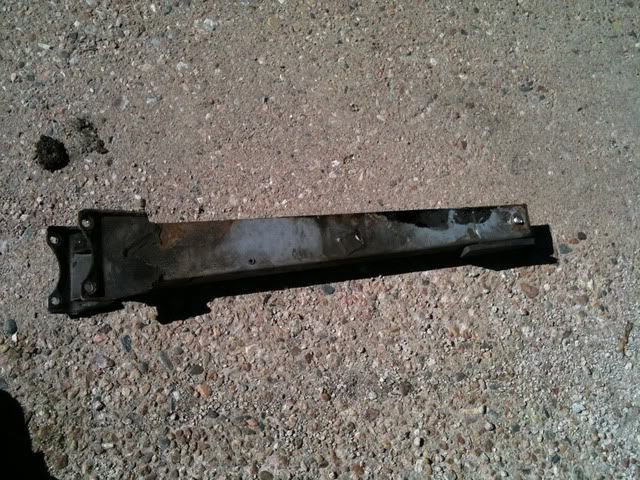
The old, rusty trailing arm.
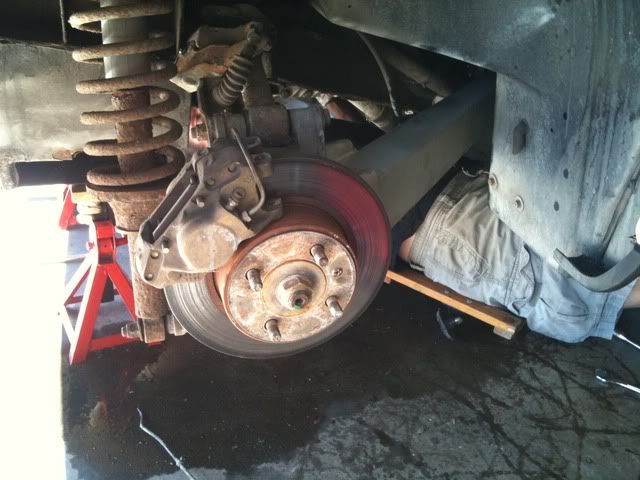
I really need to rebuild the rear suspension! Yuck! I hate rust!
Removing the trailing arm from the parts car to replace my rusted one.
So the next projects in the coming weeks will be to replace the entire A/C system...just in time for winter. Oh well, at least it will be ready for next year! Also a couple of minor projects like installing the black side stripe and cleaning up all of the grounds, and hopefully replacing the weather stripping around the doors so my new interior doesn't get messed up this winter (I don't have a garage to store the car in). Anyway, I will keep this blog more up to date from now on. It sucks trying to catch up on a month of updates all at once!
~Lyndsey
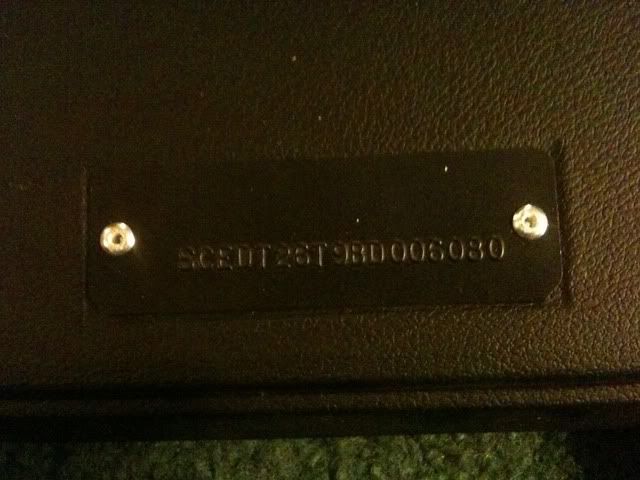
Happy 50,000 miles, 6080!!!
